ArcGIS 10.2.2
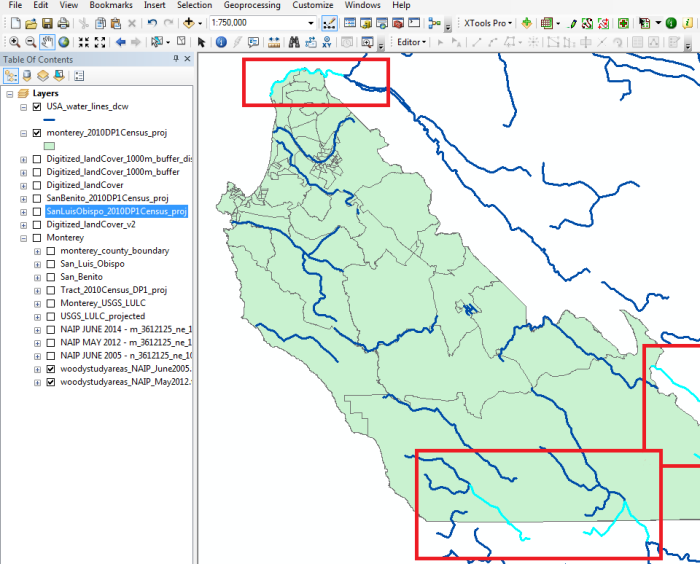
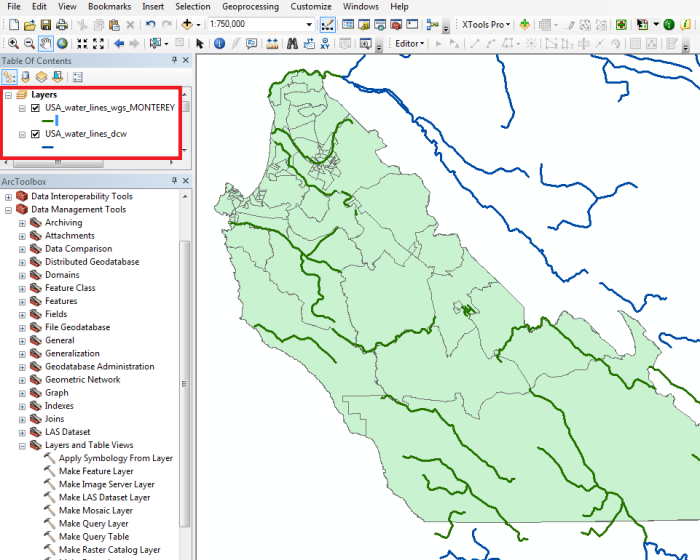
There have been a few times where, when working with stream data, I have wanted to create a new shapefile by clipping the streams to an area, but also keep stream lines that flow into the polygon but are outside it. You can see some examples of this in the screenshot below: there are stream segments that are partially inside my Monterey County shapefile, but also partially outside. Fortunately, there’re a few ways to do that, and I am going to show you one of the simpler ways.
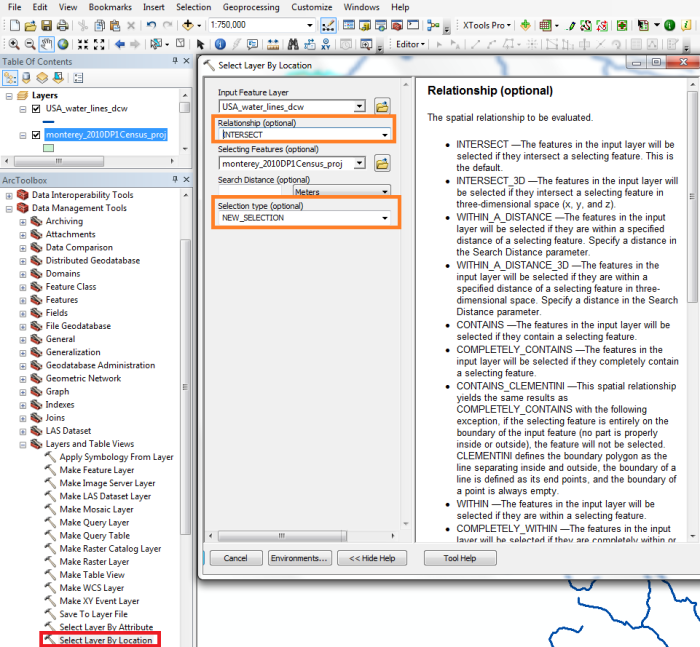
First, we need to open the Select Layer by Location tool. This provides functionality that is essentially the same as the Spatial Join function.
The main thing to note about this tool is that it outputs a selection, not a layer. You can change the selection type, so instead of creating a new selection, you could run several Select Layer by Location tools, each of which add the results to the current selection. The other important thing to note is the relationship it will select for. I have chosen Intersect here, as I wish to preserve the entire streamline, so long as a part of it falls within my polygon boundary. There are lots of other options.
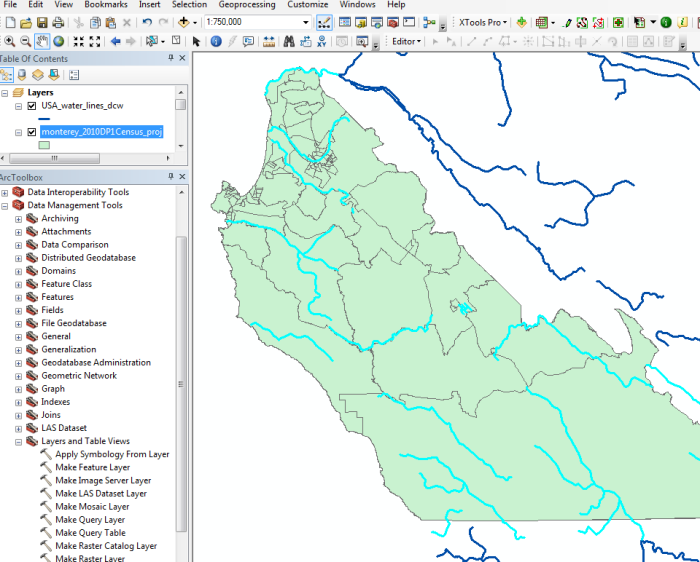
Here you can see the result of that output.
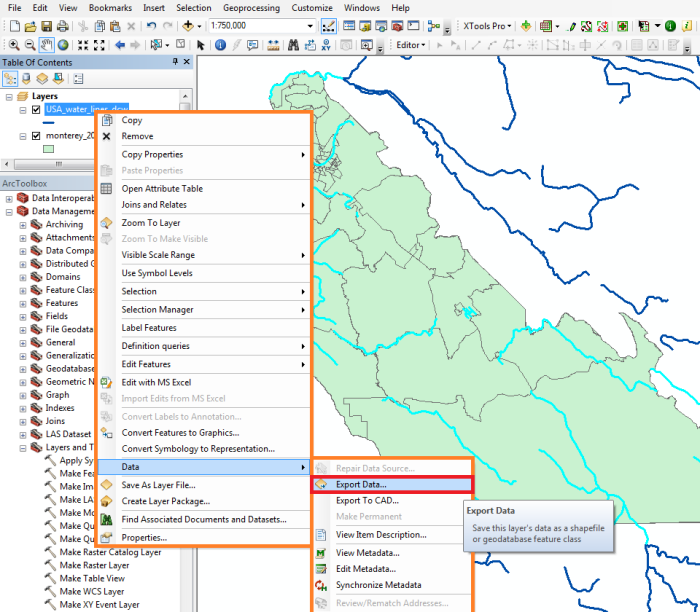
From there, we can export the data, creating a new file using only our selected features.
And then we have a streamline file for Monterey!
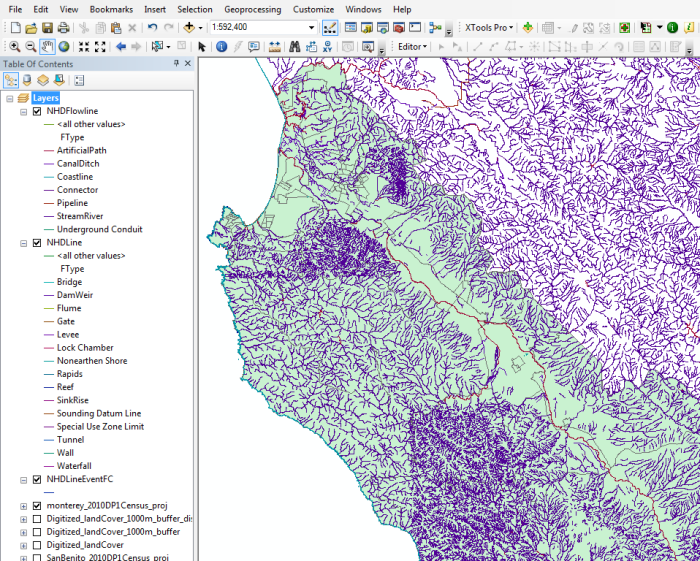
Note: This data is not the best data for the region. That would be the USGS National Hydrology Dataset, seen below. The NHD data had so many streamlets, I felt using a lower resolution dataset was better for display purposes, so I grabbed some streamfiles from DIVA-GIS. But if you looked at the streamlines above and thought, “this doesn’t seem right – there must be more streams than that, and what’s up with the connectivity?” – there definitely are more streams, and I am not sure what’s up with the connectivity either!
[…] return to advice about using GIS, MaybeItsAMap has a great post for ArcGIS users which looks at how to select data points or features from a data layer based on their spatial locations, or the spatial locations of features in another data layer. The example they use is selecting […]
LikeLike